Showing posts with label recipes. Show all posts

11.04.2010

halloween school party snacks

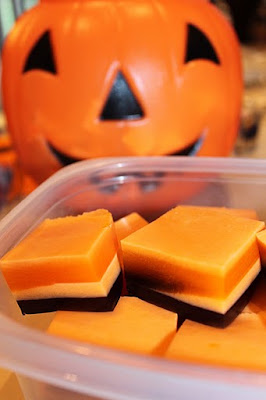
Halloween finger Jell-O
3 layers:
Black (3 grape + 1 lime), orange cream, orange transparent
Follow directions for Jell-O Jigglers,
Pour 1st layer into a 9 X 13 sprayed glass pan and refrigerate for 20 minutes,
tap with your finger and when "tacky" and firm carefully pour next layer,
*Orange Cream is made from mixing the orange jiggler recipe with 1/2 container of Cool Whip*
refrigerate for 20 more minutes, and then add the last layer.
Chill overnight covered with plastic wrap.
Halloween Bone bread sticks
Use Pillsbury refrigerator bread stick tubes.
Separate the bread stick dough and carefully stretch each piece into long strips.
Tie a knot at each end.
Brush with melted butter and sprinkle with garlic salt.
Bake as directed on tube.


2.22.2010

valentine buttons

1. gather pretzel rings


2. place pretzels on a Silpat or parchment paper lined cookie sheet
3. enlist children to unwrap a bunch of Hershey Kiss Hugs

4. balance a Hershey's Kiss Hug on the center of each pretzel

5. bake @200 degrees for 10 minutes while child salivates

6. while still warm push a M&M into the center of each Kiss
just enough for it to spread out and fill the entire pretzel


7. Place the entire cookie sheet in the refrigerator for
10 minutes until chocolate is firm to the touch
8. Pop off the Silpat and enjoy!

8.19.2009

spaghetti dogs


Isn't this the weirdest thing?
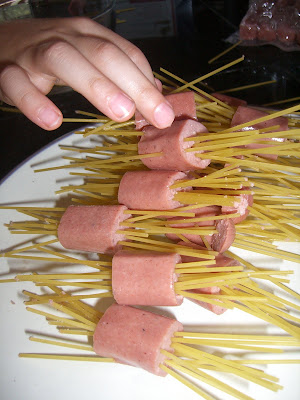
It took me a few minutes of staring to figure out
how the flexible spaghetti got into the firm hotdog
before reading these steps. It's like lunch and crafting rolled into one!

Lunch was LOVED today.
We used nitrate-free hot dogs and thin spaghetti.
Next time I'd use thicker-whole grain spaghetti for a healthier lunch.

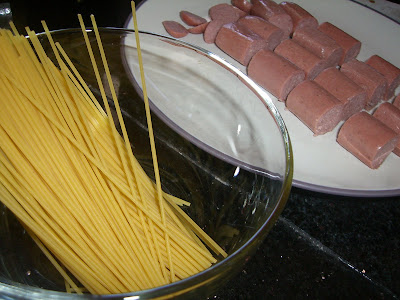
Step 1: cut hot dogs into 1" pieces & break spaghetti in 1/2.


Step 2: Carefully thread the spaghetti into and through the hot dog.


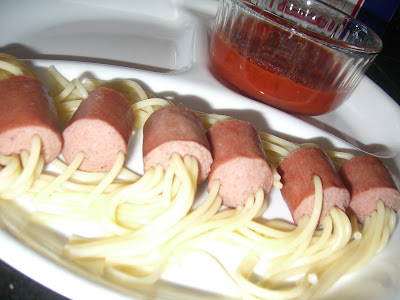
Step 3: place in a pot of boiling water and cook according to your specific pasta cook time.

4.05.2009

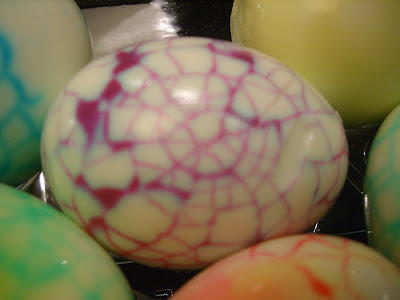
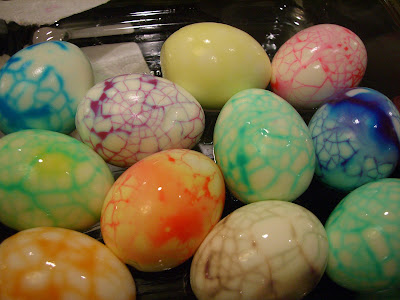
colored {chinese tea eggs}

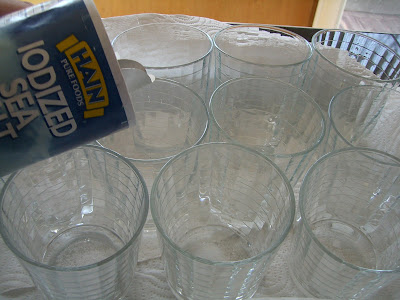
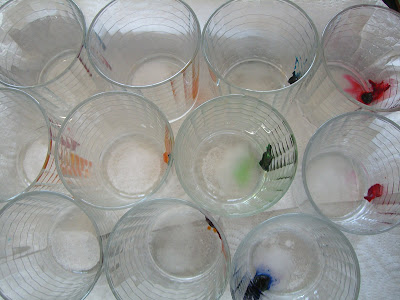
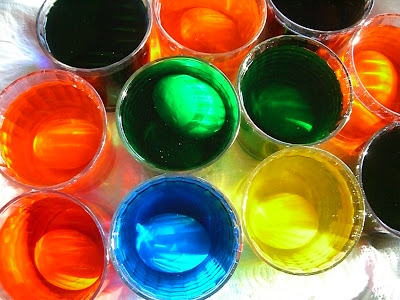
Step 1: Pour a tad bit of salt into each of 12 or so cups.

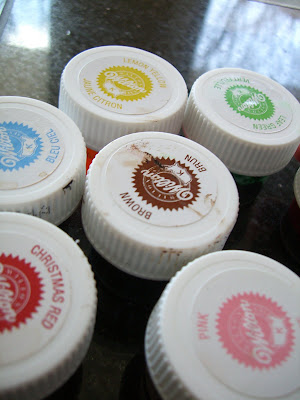
Step 2: add a smear of Wilton- Food Color Gel into each cup. Fill with boiling water.
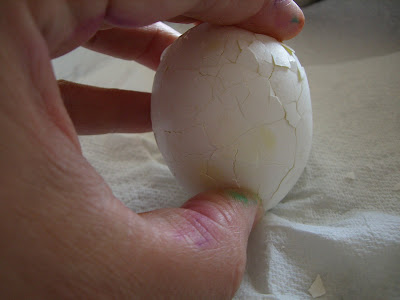
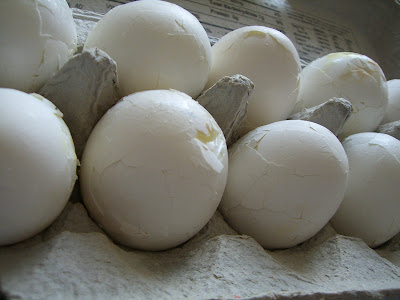
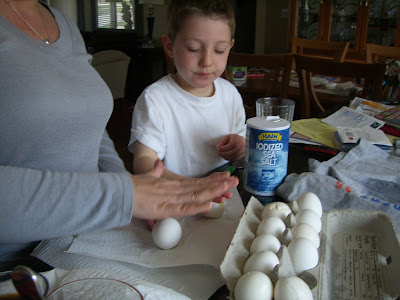
Step 3: Gently 'roll to crack' 12 hard-boiled eggs. Leave shells attached to egg.
Step 4: Drop one egg into each of the 12 colors. Make sure the hot water covers the egg completely. (Tip: I placed all my cups into a deep baking pan lined with paper towel. The paper towel helped catch splatters and spills, and the baking dish kept it all contained). Leave in colored water for 5-7 hours. I checked one after a few hours, and the color was not bright enough.
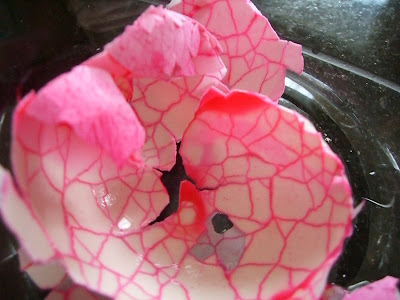
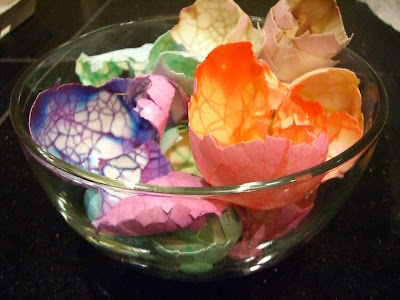
Step 5: Gently peel back the shells and enjoy the unique designs. The inside of the shells are just as beautiful as the eggs!
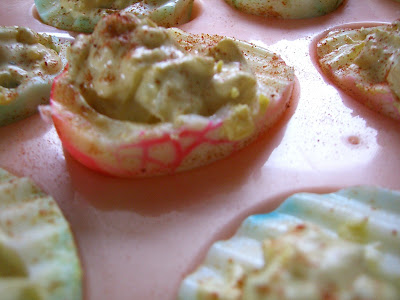
Step 6: Okay so we had 12 peeled- hard boiled eggs stinking up our refrigerator overnight, so it was time to make deviled eggs!
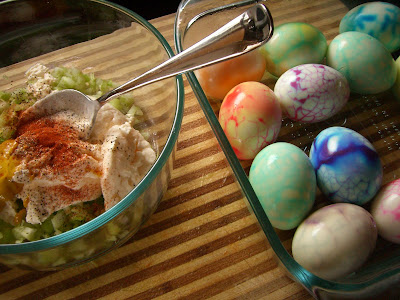
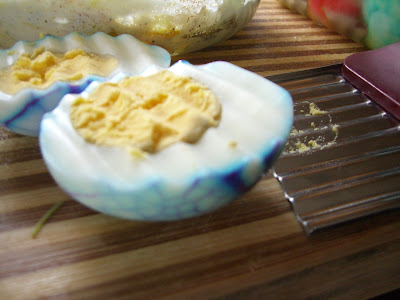
Pretty and delicious. Happy Easter!

3.17.2009

clover cupcakes

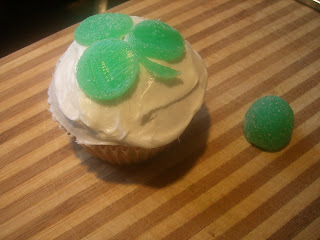
Here's a quick idea for St. Patrick's Day cupcakes. Use kitchen shears to cut slices of a gumdrop candy into 3 circles. Use the remainder of the gumdrop to cut a stem.
Add rainbow sprinkles to the edge.

roy-g-biv (-i) Jello

Here is a fun St Patrick’s Day treat that will be made tradition in our house. Yes, once a year is plenty to be making this Jello. You’ll be in the kitchen at least 3 hours for this one, but the end result is so worth the time.

Spray a 9 x 13 glass baking pan with baking spray. I don't like using this stuff, but I think it's necessary to have Jello that separates from the pan in the end.

Place the rainbow flavors of Jello in 6 separate bowls. Use 2 small boxes of Jello per bowl. Work with one flavor at a time. Don't try to make all the flavors at once as the Jello will solidify as you work. (personal experience) Mix 1.5 cups boiling water into the first bowl. Stir 2 minutes until dissolved. Pour 1/2 the red mixture into the prepared baking pan (it'll be a very thin layer but should cover the bottom) and refrigerate for 15 minutes. I found setting my oven timer for 15 minutes helped me keep track of all the 15-minute intervals. While the first layer is chilling in the refrigerator add a heaping Tablespoon of Cool Whip to the remaining red Jello. You don't want too much Cool Whip as your layer will be too pale, but you do want enough to make the layer opaque. I found the heaping Tablespoon to be sufficient. (note: you can also use lowfat vanilla yogurt or sour cream instead of Cool Whip to make your layer opaque)
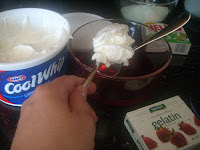
The more room temperature your Cool whip the smoother the layer will look. This Cool Whip started out frozen so I whisked it for a few minutes to make it look less chunky. (I rarely plan ahead enough to let things thaw before baking with them) As I worked on each layer the Cool Whip thawed and became easier to work with.
When the first layer is chilled enough to be firm but still tacky, pour the red Cool Whip layer to the top. 2 notes: 1)Don't leave the layers in longer than 15 minutes. This will cause the layers to be so firm that they won't stick to each other and will cause the layers to slide off each other in the end. 2)Pour the mixture onto a spoon to elimintate the stream from breaking the surface tension of the privious layer. This will eliminate a hole being created into a layer.
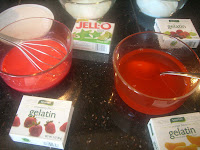
When the opaque layer is added to a color and put in to chill for another 15 minutes this is the time to mix the Jello for the next color. This gives the Jello time to cool down before adding it to the next layer. If the Jello is too hot when pouring it will melt the previous layer.
After you repeat these steps for each layer (12 total...see I told you you'd be in the kitchen all day) put the final product in the refrigerator to chill at least 2 hours. I left mine in overnight covered with plastic wrap.
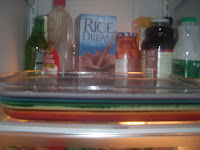
This is what it looks like when you cut into it.
This it the end result.

2.12.2009

traditions

The sense of smell can be extraordinarily evocative, bringing back pictures as sharp as photographs of scenes that had left the conscious mind.
~Thalassa Cruso, To Everything There is a Season, 1973

I'd like my boys to associated certain smells with their childhood. What better way to foster this memory maker than the smell of baking banana bread? It's beginning to become a tradition here. As soon as our bananas turn soft and brown... off we are baking again, and I never have a lack of baking assistants!

The Best Banana Bread
3/4 C butter softened
1.5 C sugar
3 bananas, blackened
2 eggs
1 tsp vanilla
1 tsp baking soda
2 C flour
3/4 tsp salt
1.5 C buttermilk
(if you don't have buttermilk you can use 1 tsp vinegar in a 1/2 cup measuring cup
and fill to the top with milk. Let this mixture set for 5 minutes before adding to the recipe)
1.5 C mini-chocolate chips (optional of course)
Cream butter and sugar (by hand or with a mixer). Mash bananas and add by hand to creamed mixture. By hand add eggs, vanilla, baking soda, flour and salt. Gently stir in buttermilk and chocolate chips. Pour into a greased loaf pan. Bake at 350 F for 1.25 hours or until it tests done with a toothpick. Coarsely mashing bananas is best, and make sure they are over ripe for best flavor. If you do the majority of mixing by hand it makes for a better texture in the end. You can make one large loaf with this recipe or 2-3 smaller loafs. I find making 2 smaller loafs cuts down the baking time considerably. Adjust baking time accordingly. Let rest before slicing.