Let the countdown to Christmas begin! The kids are tucked in bed asleep and now is the time to get a few things out for the beginning of our Advent celebration. Here is a list of the activities that show up behind our Advent doors each morning.
http://www.scribd.com/doc/23411321I'm trying for consistency with many special things we do for the holidays. I want my boys to grow up with traditions, excitement & anticipation. Christmas is packed with things we'll repeat each year. Here's a new tradition we're starting with "Elf on our Shelf". I've seen this idea on numerous blogs but was originally inspired while reading
http://rootsandwingsco.blogspot.com/2009/11/elf-on-shelf.html.
I didn't buy the story book this year
but did find this little Japanese cutie on EBay.
He'll show up tomorrow morning on a shelf in our house, will watch over the boys for 24 days and report back to Santa Christmas Eve night. Moving around the house when no one is looking will help him keep a keen eye on who's been naughty or nice.
Each evening before bed the boys will take turns opening that night's book and will enjoy a beloved Christmas tale.
The same 24 books will be wrapped and opened each year. I think this will be a great way to make our Christmas books special and memorable.
We will also be making a paper chain tomorrow with 24 links. Each morning the boys will rip off a link and have a visual to the remaining days until Christmas.
{I'm feeling quite prepared this year}
All Christmas gifts bought (Check!)
Outdoor Lights Hung (Check!)
Christmas decorations inside setup (Check!)
Christmas Tree up (Check!)
Christmas Cards bought and ready to be sent (Check!)
Preschool Parties @ school planned (Check!)
December Birthday boy's party planned and prepped (Check!)
What's gotten into me?
I'm the queen of procrastination!
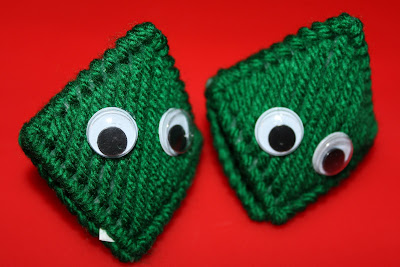
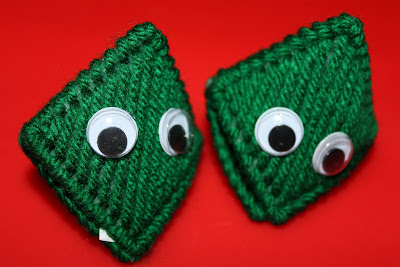
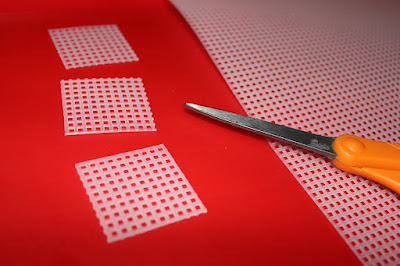


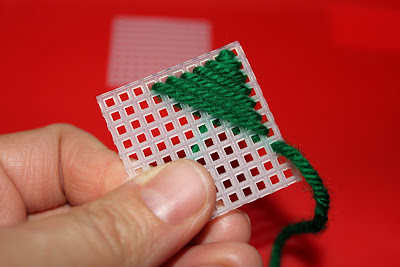
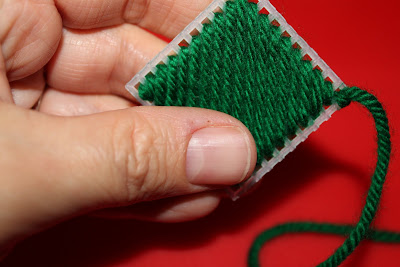
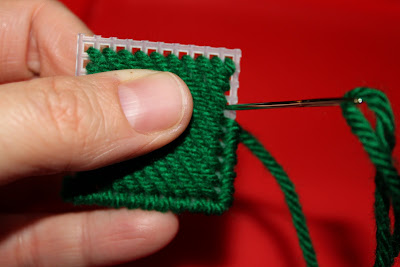
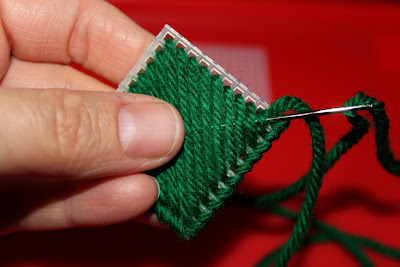
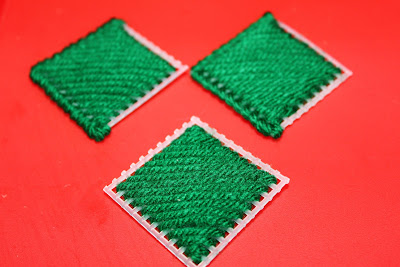 You need 2 squares that have 2 edges finished and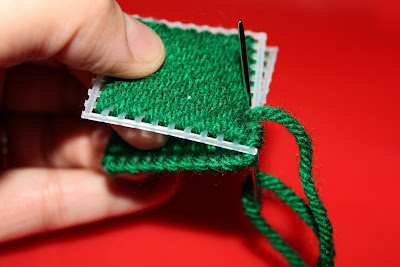

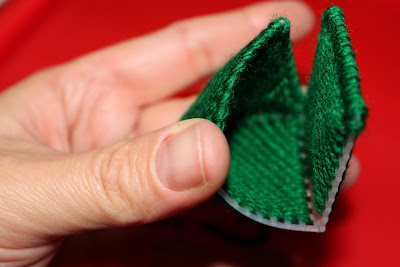
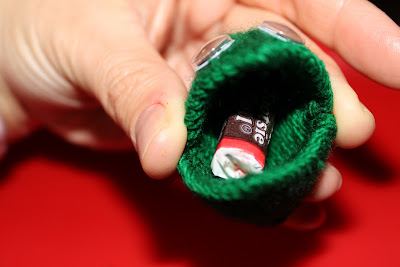



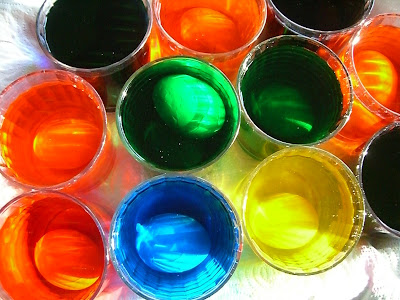
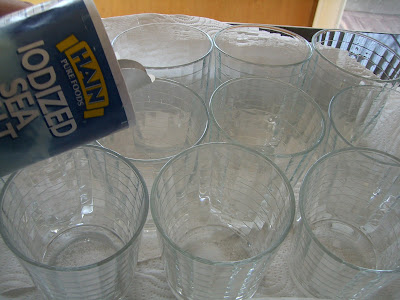 Step 2: add a smear of Wilton- Food Color Gel into each cup. Fill with boiling water.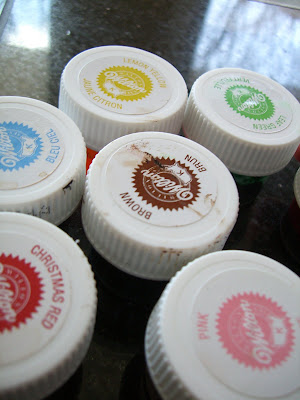
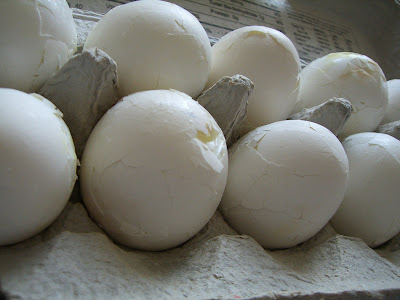
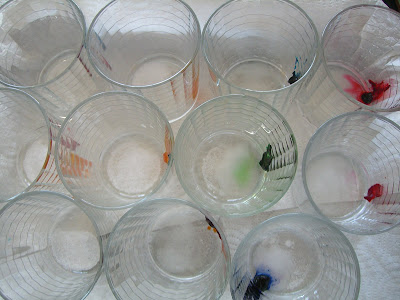 Step 3: Gently 'roll to crack' 12 hard-boiled eggs. Leave shells attached to egg.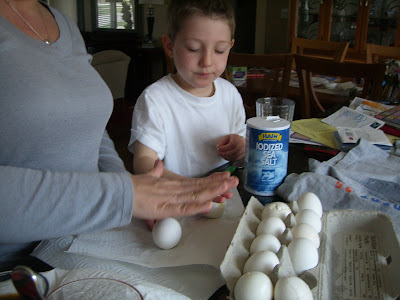
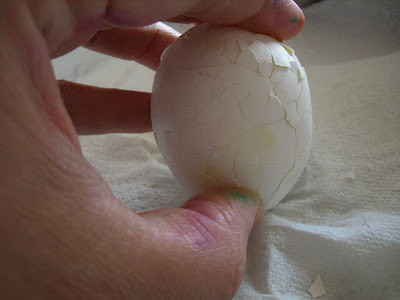
 Step 4: Drop one egg into each of the 12 colors. Make sure the hot water covers the egg completely. (Tip: I placed all my cups into a deep baking pan lined with paper towel. The paper towel helped catch splatters and spills, and the baking dish kept it all contained). Leave in colored water for 5-7 hours. I checked one after a few hours, and the color was not bright enough.
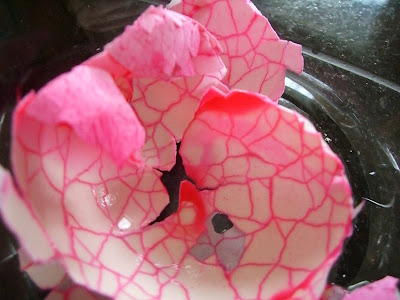
 Step 5: Gently peel back the shells and enjoy the
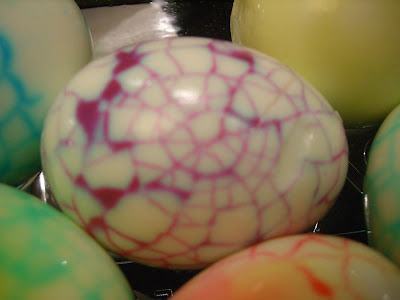

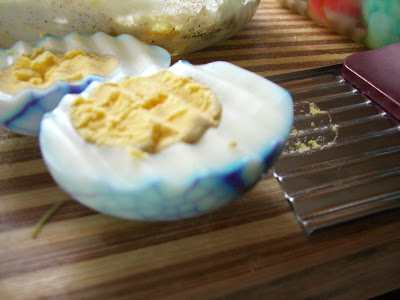
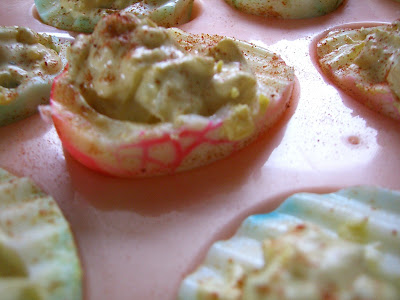
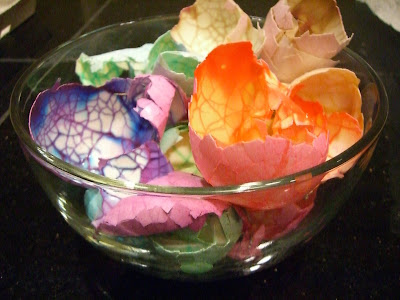 Step 6: Okay so we had 12 peeled- hard boiled eggs stinking up our refrigerator overnight, so it was time to make deviled eggs!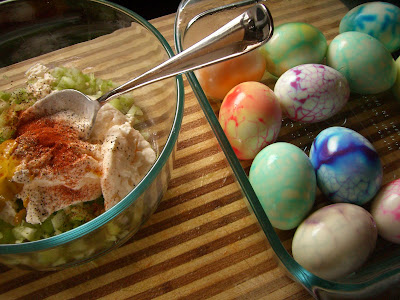

 Place the rainbow flavors of Jello in 6 separate bowls. Use 2 small boxes of Jello per bowl. Work with one flavor at a time. Don't try to make all the flavors at once as the Jello will solidify as you work. (personal experience) Mix 1.5 cups boiling water into the first bowl. Stir 2 minutes until dissolved. Pour 1/2 the red mixture into the prepared baking pan (it'll be a very thin layer but should cover the bottom) and refrigerate for 15 minutes. I found setting my oven timer for 15 minutes helped me keep track of all the 15-minute intervals.
  While the first layer is chilling in the refrigerator add a heaping Tablespoon of Cool Whip to the remaining red Jello. You don't want too much Cool Whip as your layer will be too pale, but you do want enough to make the layer opaque. I found the heaping Tablespoon to be sufficient. (note: you can also use lowfat vanilla yogurt or sour cream instead of Cool Whip to make your layer opaque)
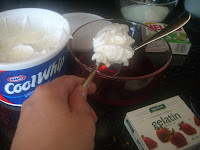 The more room temperature your Cool whip the smoother the layer will look. This Cool Whip started out frozen so I whisked it for a few minutes to make it look less chunky. (I rarely plan ahead enough to let things thaw before baking with them) As I worked on each layer the Cool Whip thawed and became easier to work with.
 When the first layer is chilled enough to be firm but still tacky, pour the red Cool Whip layer to the top. 2 notes: 1)Don't leave the layers in longer than 15 minutes. This will cause the layers to be so firm that they won't stick to each other and will cause the layers to slide off each other in the end. 2)Pour the mixture onto a spoon to elimintate the stream from breaking the surface tension of the privious layer. This will eliminate a hole being created into a layer.
 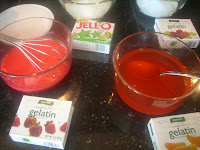 After you repeat these steps for each layer (12 total...see I told you you'd be in the kitchen all day) put the final product in the refrigerator to chill at least 2 hours. I left mine in overnight covered with plastic wrap.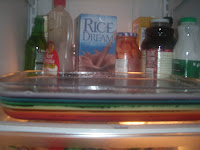
 This it the end result.





 Posts
Posts

